Regular price €19,99
Sign up for 10% off
Free Delivery
Buy Direct from the Makers
Aftersales Support
Support
VWM1518R 03
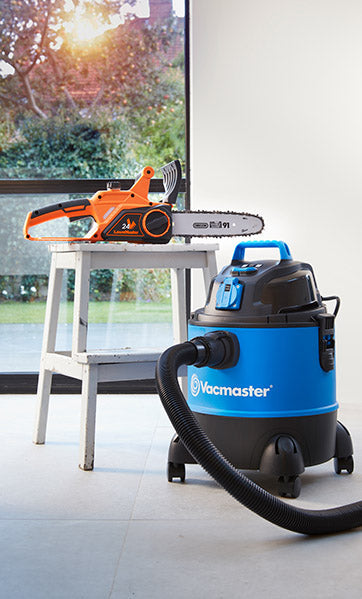
Learn how to set up and use your wet and dry vacuum cleaner with instruction manuals, user guides and FAQs.

1) Remove all the contents from inside of the vacuum cleaner container.
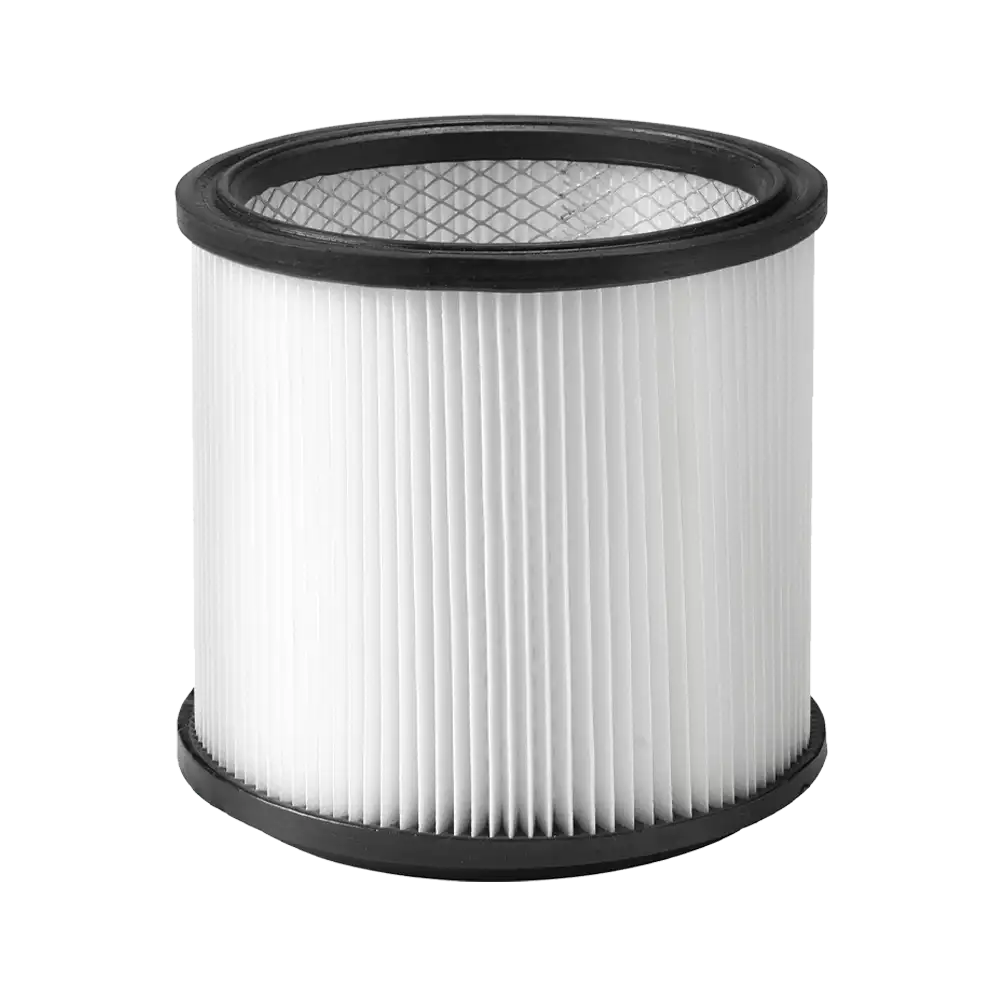
2) Your vacuum cleaner comes ready for dry vacuum cleaning with the cartridge filter pre-installed.
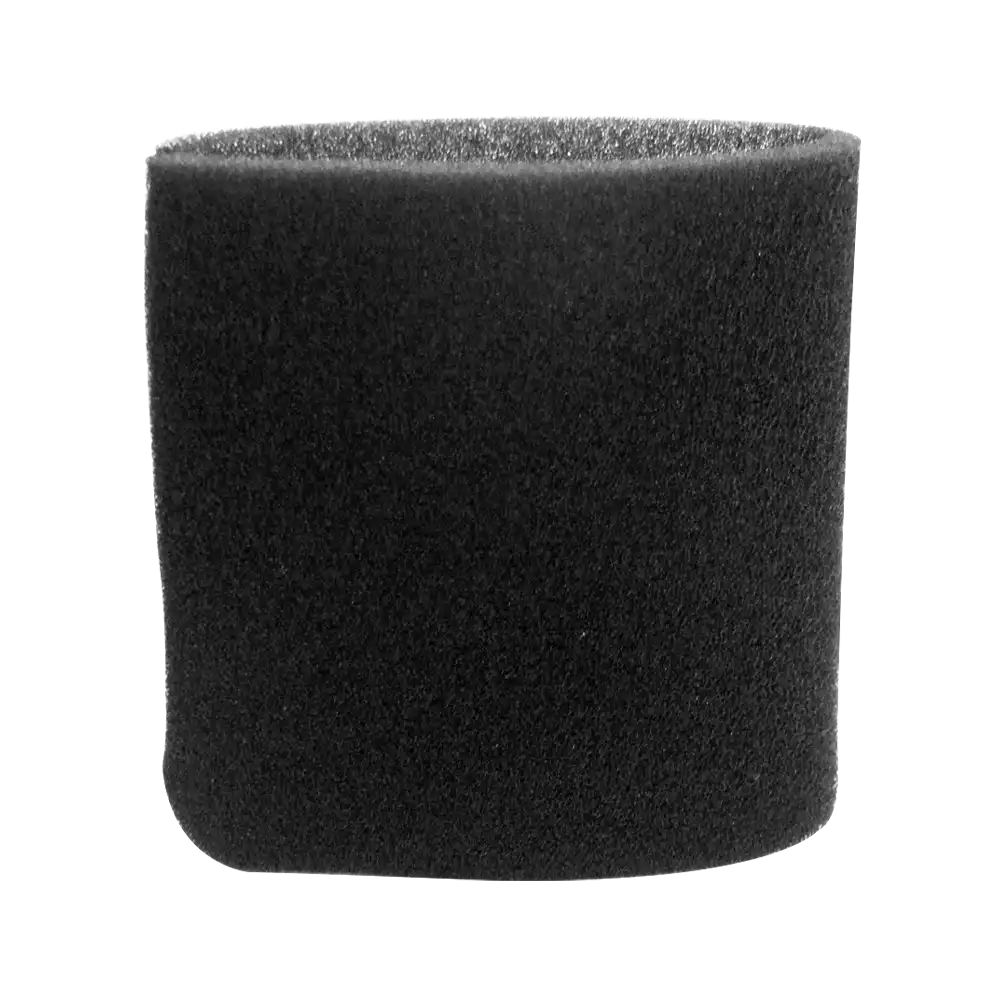
3) For wet vacuuming, replace the cartridge filter with the foam filter supplied.
4) Place the power head back on the container, and secure into place using the 2 side latches.
5) Insert the air diffuser onto the blower port.
Mounting Rack And Storage Assembly
Important!
• Mount at a recommend height of not more than 1.5m from the floor.
• Ensure you use suitable fixings depending on the wall structure.
• Do not hang from or sit on the mounting rack.
• Do not exceed 18kg maximum weight limit.
6) Insert the hose storage rod into the two holes located on the top of the mounting rack. When secured a click can be heard. Make sure the bend of the rod is directed away from the wall.
7) Place the mounting rack against the wall. Make sure the rack is level and mark the hole locations.
Affix to a Stud Wall:
8) Make a pilot hole in each marked location and secure the mounting rack to the wall with the three screws provided.
Affix to a Solid Brick/Concrete Wall:
NOTE: Expansion bolt includes screw, washer, expansion tube and nut.
9) Insert the screws into the supporting holes within the rack. On the revere side, fix the washer and then slide over the expansion tube.
10) Attached the nut to the end of the screw. The projections on the nut should align with the slots located at the end of the expansion tube. Loosely pre-tighten the screw and nut.
NOTE: Make sure the expansion tube is not expanded.
11) Drill 3 holes into the wall and insert the expansion bolts with rack attached into the holes accordingly. Secure the mounting rack to the wall by tightening the bolts.
Mounting The Vacuum On To The Rack
12) Ensure a safe length of power cord is available to plug into the power outlet. Wind the excess power cord around the cord wrap area located on the rear of the vacuum. Make sure the power cord is not wound to the hanging hook (A).
13) Mount the vacuum onto the mounting rack by aligning the vacuum hanging hook (A) with slot (B) on the mounting rack and slide downward until it locks. Make sure the cord is not caught between the hanging hook (A) and the hanging slot (B).
14) Attach the tool caddy on either side of the vacuum onto the hooks provided.
15) Insert the locking end of the hose into the suction port of the container and lock into place.
16) Choose the desired accessories and/or extension wands and push fit onto the suction hose nozzle or the remote control handle.
Detaching The Vacuum From The Rack
1) Disconnect the power cord from the electrical outlet.
2) Press the release lever located on the left side of the rack.
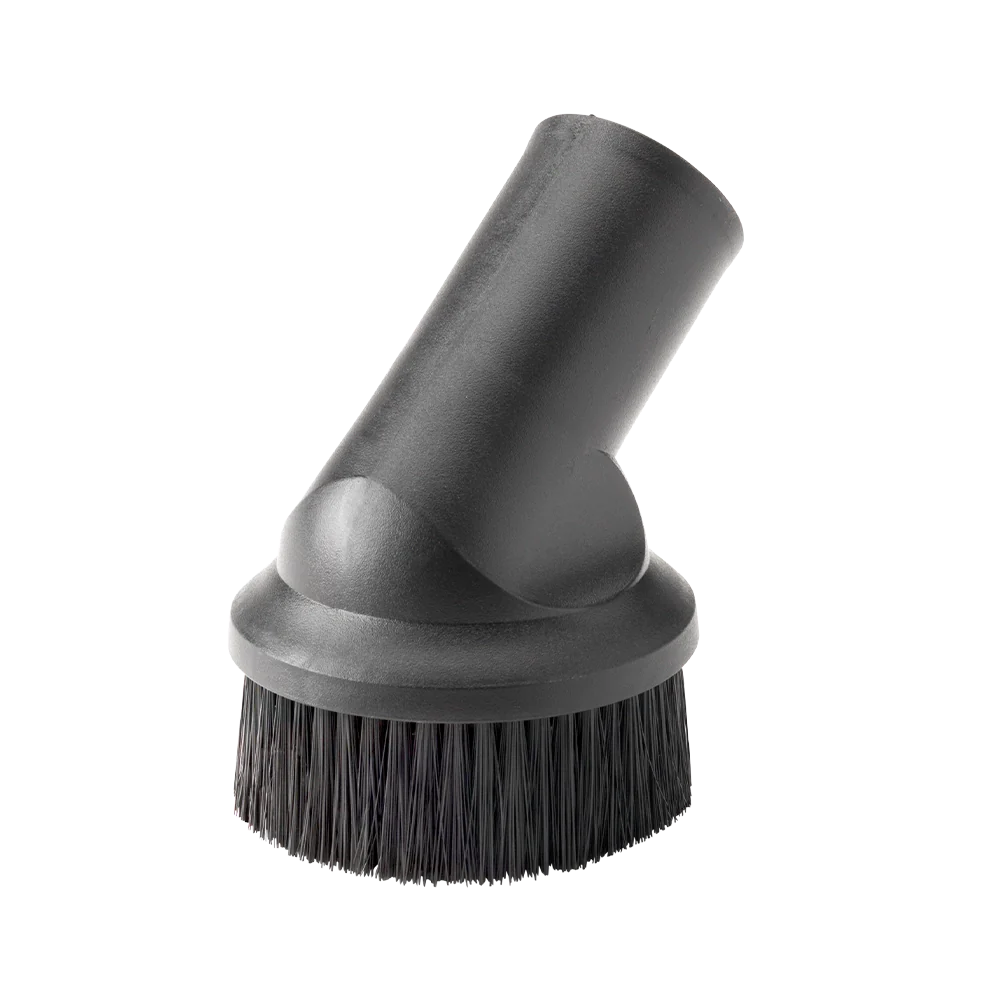
1) Keep all safety devices, air vents and the motor housing free of dirt and dust. Use a soft, dry brush to clean the equipment regularly.
2) Clear all dirt or debris from the collection tank after each use. Allow to dry before replacing the power head. Do not use cleaning agents or solvents; these may damage the appliance.
3) Check the hose, attachments, and power cord to verify that they have not been damaged or any debris is trapped and blocking airflow.
Cleaning the Cartridge Filter
1) Remove the filter and clean by gently tapping or brushing off dirt. For optimal performance it is recommended to replace the old filter with a new filter regularly.
2) Use a mild soap and water solution to wash cartridge filter and rinse with clean water. Allow the filters to air dry before re-installing.
Cleaning the Foam Filter
Remove the foam filter and use a mild soap and water solution to wash and rinse with clean water. Allow filter to air dry before installing and using again.
Changing the Remote Control Battery
NOTE: Replace Only With A 23AE 12V Alkaline Battery.
1) Using a Phillips screwdriver, remove the screws located on either side of the remote control.
2) Slide the remote cover towards the unlock symbol.
3) Remove the remote cover from the handle.
4) Lift the foam cover to expose the battery and remove the old battery.
5) Insert the new battery with the terminals in the direction shown and make sure to replace the foam cover.
6) Replace the remote control by aligning the white triangle on the side cover to the unlock symbol on the handle.
7) Slide the remote cover so that the white triangle is over the locked symbol.
8) Secure the cover with the screws. Do not over-tighten.
Genuine Vacmaster accessories and spare parts for your machine.
Regular price €19,99
Regular price €9,99
Regular price €15,99

Regular price €12,99
Regular price €24,99

Regular price €9,99
We stock a wide range of spare parts if you'd like to repair your machine, rather than replace it. If you can't find the part you are looking for in the accessories section above, please get in touch with us. For safety, certain parts may not be available individually, but as part of a combined unit.
FAQ
This can be caused by:
1) No power. Check the power supply and fuse.
2) Functional fault in the power cord, switch, or motor. Have the damaged part checked by qualified personnel or contact the customer support team.
3) The container is full. Empty the container.
4) Switch in the wrong position. Press the ON ‘I’ button on the power head.
This can be caused by:
1) The cartridge filter is missing or damaged. Put in a cartridge filter or replace it.
2) Misuse of the cartridge filter when wet vacuuming. Replace the damaged cartridge filter with a new one when dry vacuuming.
3) Misuse of the foam filter when dry vacuuming. Replace the foam filter with the cartridge filter.
This can be caused by:
1)There is a blockage in the nozzle, hose, or the container inlets. The cartridge filter is clogged by fine dust.
Check nozzle, hose and container inlets for blockage. Take off the filter and clean it or install a new cartridge filter.
2) Float valve has closed.Empty the container of any liquid waste and ensure the float value located underneath the filter is able to move freely.
This can be caused by:
1) The remote control is not paired with the vacuum.Reset the remote control using the instructions on page 9.
2) The battery is dead.Replace the battery.
3) Switch in the wrong position.Press the ‘Remote’ button on the power head.
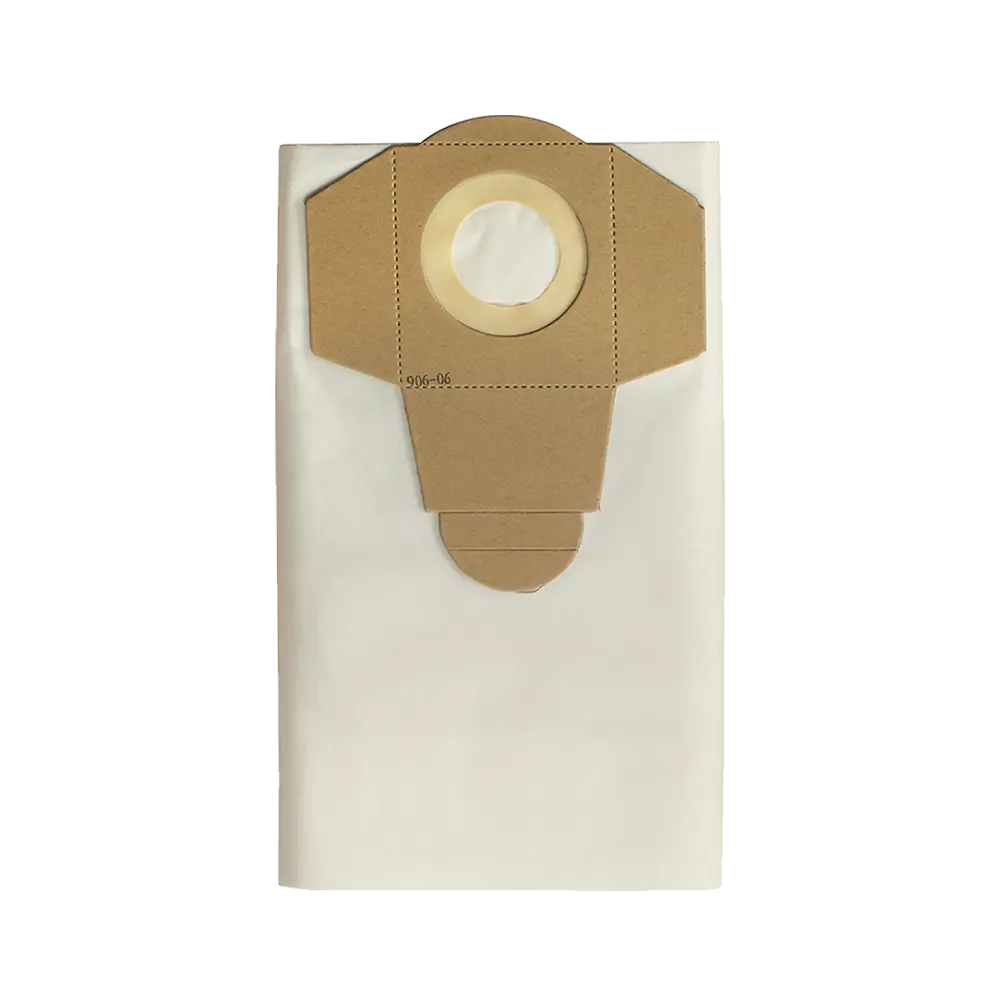
To fit a dust bag, follow this step by step video:
To clean the cartridge filter, follow this step by step video:
To check the float valve, follow this step by step video:
To unblock the vacuum cleaner, follow this step by step video:
Support
We’re here to empower you with the knowledge and solutions to make the most of your machine, and to support you when you just need a helping hand. Our friendly customer service team are here to help.
This Vacmaster appliance comes with a 2-year guarantee.
2-7 Day Standard Delivery:
Standard delivery lead times are between 2-7 days for mainland European countries.
Delivery cost is calculated at the time of purchase and will be displayed at checkout.
Delivery is free.
Non EU member countries could be subject to import duties. Please check this with your customs authority for details.
Returns:
We hope that you are happy with your purchase but if that's not the case, unused, undamaged products can be returned for a refund within 30 days of receipt.
Our aim is to keep it personal. Our friendly customer service team are there if you need a helping hand.
Sign up , plus access to exclusive benefits including: