Regular price €24,99
Sign up for 10% off
Free Delivery
Buy Direct from the Makers
Aftersales Support
Support
AMB16P2-03
Discover all you need to know about the OcuMow® AMB16-400 robotic lawnmower and whether this is the right robot for your garden. Learn how to set up, use and update your robot with instruction manuals, user guides, videos and FAQs.

Video 1: What you need to know about how OcuMow® AMB16-400 navigates gardens.
Video 2: How to Install the LawnMaster OcuMow® AMB16-400 Autocharging Vision Robot Mower Plug-and-Play Charging Station.
Press the START/ON button to turn the mower on. To unlock the mower, press the UNLOCK button until you hear a beep sound. Enter the PIN code and press the START/ON button. The control panel is unlocked. The factory-set PIN code is 1234. To start the mower, unlock the mower and then immediately press the START/ON button. The robotic lawnmower will begin to mow when fully charged.
Schedule Mode: The robotic mower mows the lawn within the properly defined borders in daylight hours following the set schedule. It will automatically recharge and alternately charge and mow until the end of the set working session. The mower’s default daily working schedule includes 8 hours of working time (mowing and charging included) and 16 hours on standby on the base station. The default start time of the daily working schedule is 08:00.
Drop & Mow Mode: The robotic mower is sent out for a one-time mow. This mode can be used either on “Main Area” (the lawn that contains the charging station) or “Other Area”. In the Main Area, the mower will mow once and return to the charging station. In the other area the mower will mow until the battery runs out and wait on the lawn to be collected and placed on the charging station.
How to Operate LawnMaster OcuMow® AMB16-400 Autocharging Vision Robot Mowers:
For the best performance and latest features, keep your OcuMow® AMB16-400 robot mower firmware up to date.
We don’t have any firmware updates available right now. Please check back later.
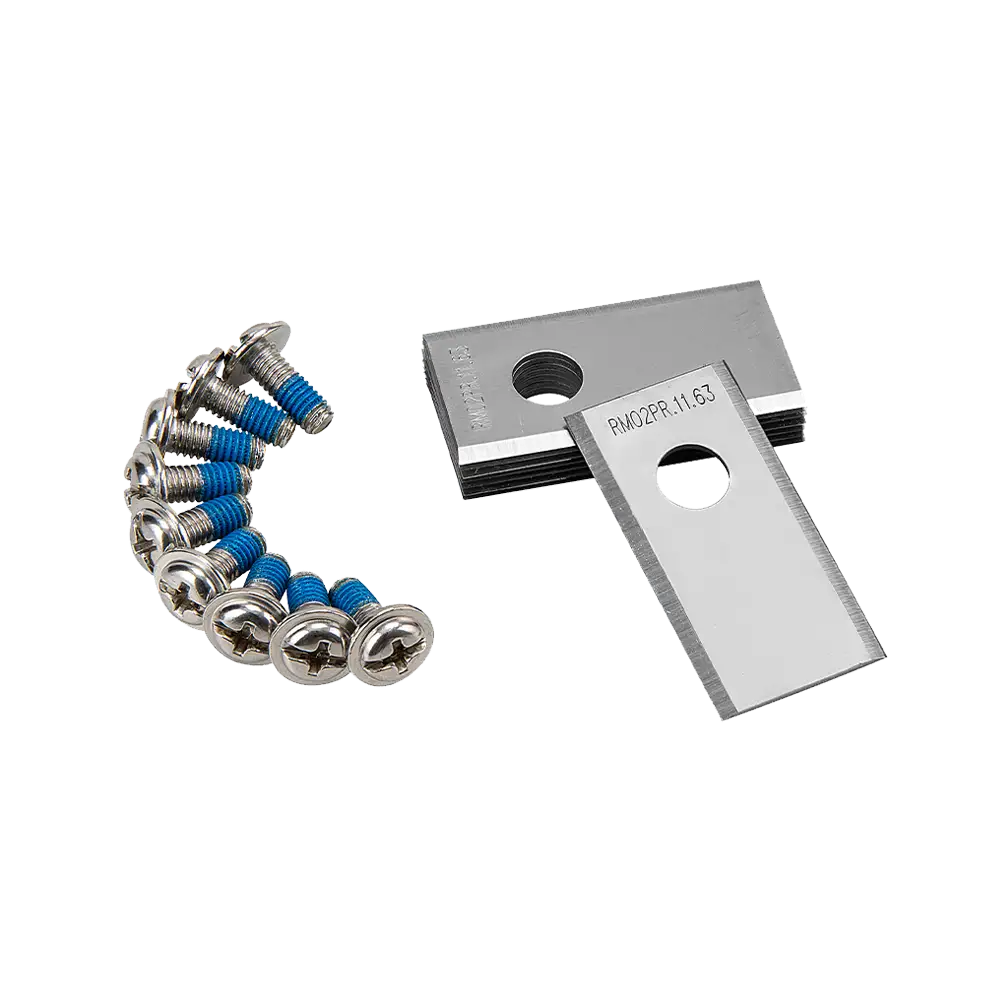
Genuine LawnMaster accessories and spare parts for your machine.
Regular price €24,99

Regular price €39,99

Regular price €69,99
We stock a wide range of spare parts if you'd like to repair your machine, rather than replace it. If you can't find the part you are looking for in the accessories section above, please get in touch with us. For safety, certain parts may not be available individually, but as part of a combined unit.
FAQ
Debris Around Wheels or Blade Disc: Grass, sticks or debris may be wrapped around the wheels or blade disc. Check the wheels and blade disc and remove any grass or objects (always wear gardening gloves).
Obstacles in the Lawn:The mower may be caught on objects or stuck behind obstacles. Free the mower and remove the obstacle so it can move freely.
Uneven Ground:Dips or hollows in the lawn can trap the mower. Level dips or holes with topsoil and overseed with grass seed.
Lift Sensor Activated:If the mower becomes trapped or lifted, the lift sensor may stop the mower. Free the mower and place it back on level ground.
Battery Not Charged: The mower may not be fully charged. Place the mower on the charging station and allow it to charge.
Possible Clogging: Grass or debris may be blocking the mower. Turn off the mower using the START/ON button, check underneath and clear any obstruction (always wear gardening gloves).
Grass Too Long: Very long grass may prevent the mower from starting properly. Set a higher cutting height before mowing.
Rain Sensor Triggered: If the rain sensor has been activated, the mower will not start. Wait until the mower is dry and the delay time has finished.
No Power: Ensure the power cord is connected properly to the power adaptor and that the adaptor is connected to a suitable power supply. Check the wall socket and whether an earth-fault breaker has tripped.
Dirty Charging Contacts: Debris or contamination on the charging strips can prevent charging. Clean the contact strip on the base station and the charging strips on the mower using a cloth.
Faulty Power Supply: The socket outlet, fuse, mains cable or base station may be defective. Check the mains voltage and fuse, and have the base station checked by a qualified person if necessary.
Battery Fault: If the battery has a fault, contact the Aftersales Helpline.
Cutting Height Too Low: If the grass is too tall or the cutting height is too low, increase the height of cut.
Blades Are Dull: Worn blades may reduce cutting performance. Replace all blades and screws if they are dull.
Working Area Too Large: If the mowing area is too big for the set schedule, adjust the boundary or add more working time so the mower can cover the whole lawn.
Support
We’re here to empower you with the knowledge and solutions to make the most of your machine, and to support you when you just need a helping hand. Our friendly, customer service team are here to help.
This LawnMaster appliance, spare parts and accessories carry a 2-year guarantee.
2-7 Day Standard Delivery:
Standard delivery lead times are between 2-7 days for mainland European countries.
Delivery cost is calculated at the time of purchase and will be displayed at checkout.
Delivery is free.
Non EU member countries could be subject to import duties. Please check this with your customs authority for details.
Returns:
We hope that you are happy with your purchase but if that's not the case, unused, undamaged products can be returned for a refund within 30 days of receipt.
Our aim is to keep it personal. Our friendly customer service team are there if you need a helping hand.
Sign up , plus access to exclusive benefits including: