Regular price 903.00 kr
Sign up for 10% off
Free Delivery
Buy Direct from the Makers
Aftersales Support
Support
VBRM16AD-03
Discover all you need to know about the OcuMow® DM16-250 Advance robotic lawnmower and whether this is the right robot for your garden. Learn how to set up, use and update your robot with instruction manuals, user guides, videos and FAQs.

1) Preparation
Your mower comes fully assembled and ready for setup. carefully unpack the mower and accessories. The cutting blades are sharp, so wear protective gloves when handling the mower. Fully charge the supplied battery before first use.
2) Prepare Your Lawn
Before mowing, remove any stones, sticks, toys or other loose objects from the lawn. For the best performance, trim the grass to 60 mm or below before first use and keep the lawn clear of fallen leaves to ensure reliable grass detection.
3) Prepare Lawn Boundaries
OcuMow® uses vision technology instead of a boundary wire, so clear lawn edges are essential. Suitable lawn borders include paving, brick or stone edging, raised borders, or gravel with clearly defined edges. Areas steeper than 35% should be excluded. If your garden includes a pond or pool, protect it with a raised barrier over 20 cm high or a flat border at least 70 cm wide.
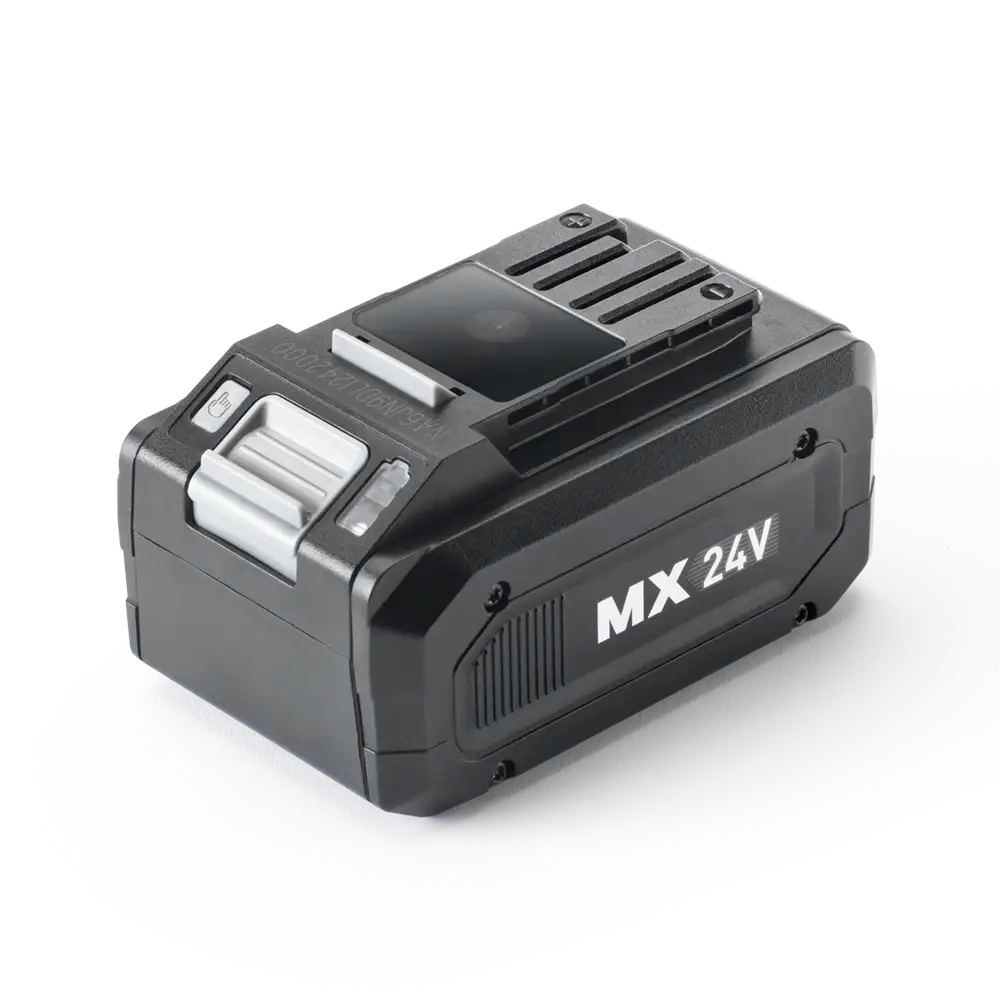
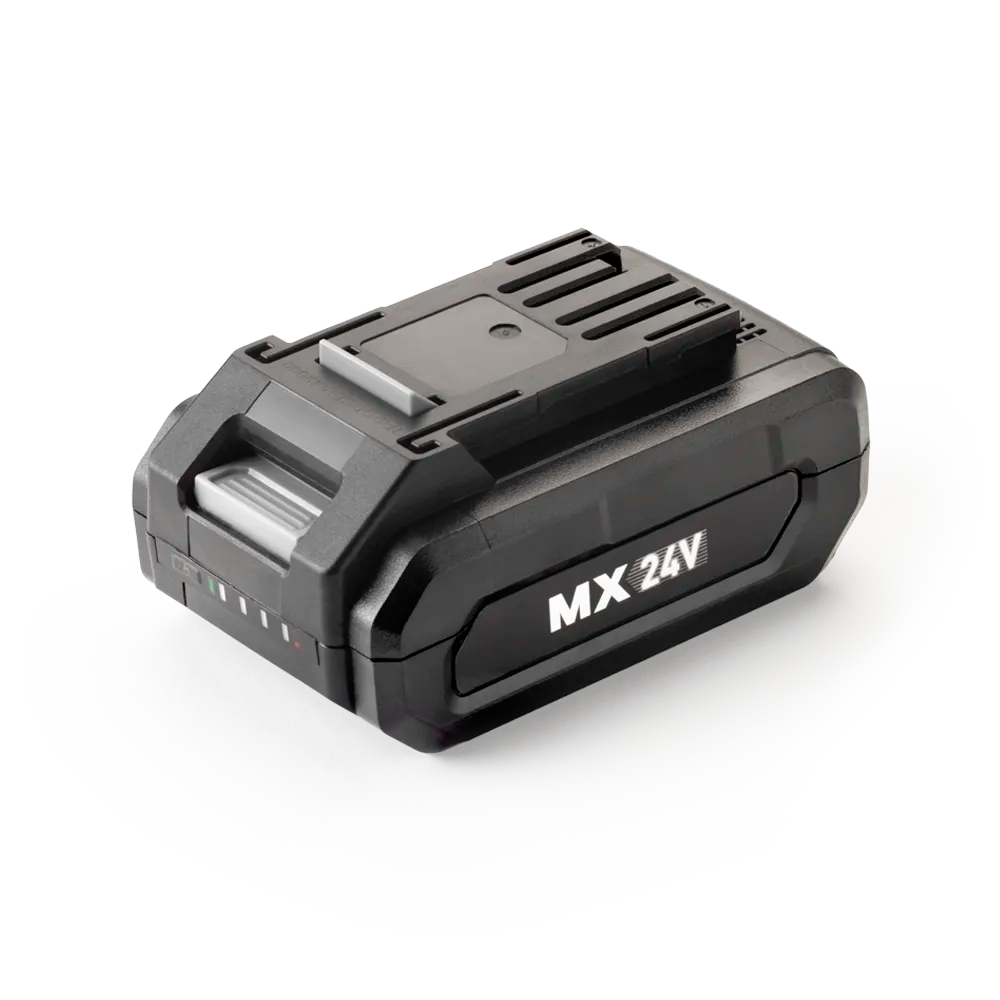
4) Install the Battery
Before installing the battery, ensure the isolator key is NOT inserted.
1.Open the battery compartment.
2.Slide the battery into the guide rails until it clicks into place.
3.Insert the isolator key.
4.Close the battery compartment cover.
Before operating the mower, ensure the battery pack and isolator key
are securely fitted.
5) Before Your First Mow
We recommend supervising the mower during its first mowing session to ensure it correctly recognises your lawn boundaries. If necessary, improve the lawn edges or add temporary physical barriers before regular operation.
Operation: Press and hold the START/ON button for 1 second to power on the mower. Select your preferred cutting mode (Automatic Parallel Mowing, Partial/Manual Parallel Mowing, or Random Mowing), then press START/ON again to begin mowing. The camera system takes approximately 15 seconds to initialise. The mower is ready to mow when the battery indicator is illuminated green continuously and the mower beeps.
Automatic Parallel Mowing: The mower first completes a full perimeter cut around the lawn boundary before mowing in an efficient parallel pattern automatically. This is the recommended mowing mode for most lawns and delivers the best overall mowing performance.
Partial/Manual Parallel Mowing: Ideal for completing areas missed during Automatic Parallel Mowing or for lawns with more complex shapes. Place the mower on the left-hand side of the lawn before starting. Once completed, the mower automatically switches to Automatic Parallel Mowing to finish the remaining area.
Random Mowing: The mower cuts the lawn in a random pattern and automatically changes direction whenever required. This mode is recommended for irregular lawns or where parallel mowing is not suitable.
Cutting Height: The cutting height can be adjusted from 20 mm to 60 mm. For the first few weeks, we recommend using a higher cutting height (around 40 mm) before gradually lowering it to the desired level. Always stop the mower before adjusting the cutting height.
Battery Charging: Use only the supplied LawnMaster® battery charger. Charge the battery indoors in a dry, well-ventilated area between 4°C and 40°C. The lithium-ion battery can be charged at any time without affecting its service life. Battery indicators: 3 LEDs = Fully charged, 2 LEDs = More than 40% charge, 1 LED = Recharge required.
Security Code: Protect your mower with an optional 4-digit Security Code to prevent unauthorised operation. The mower is supplied without a Security Code by default. Please refer to the User Manual for instructions on setting, changing or removing the Security Code.
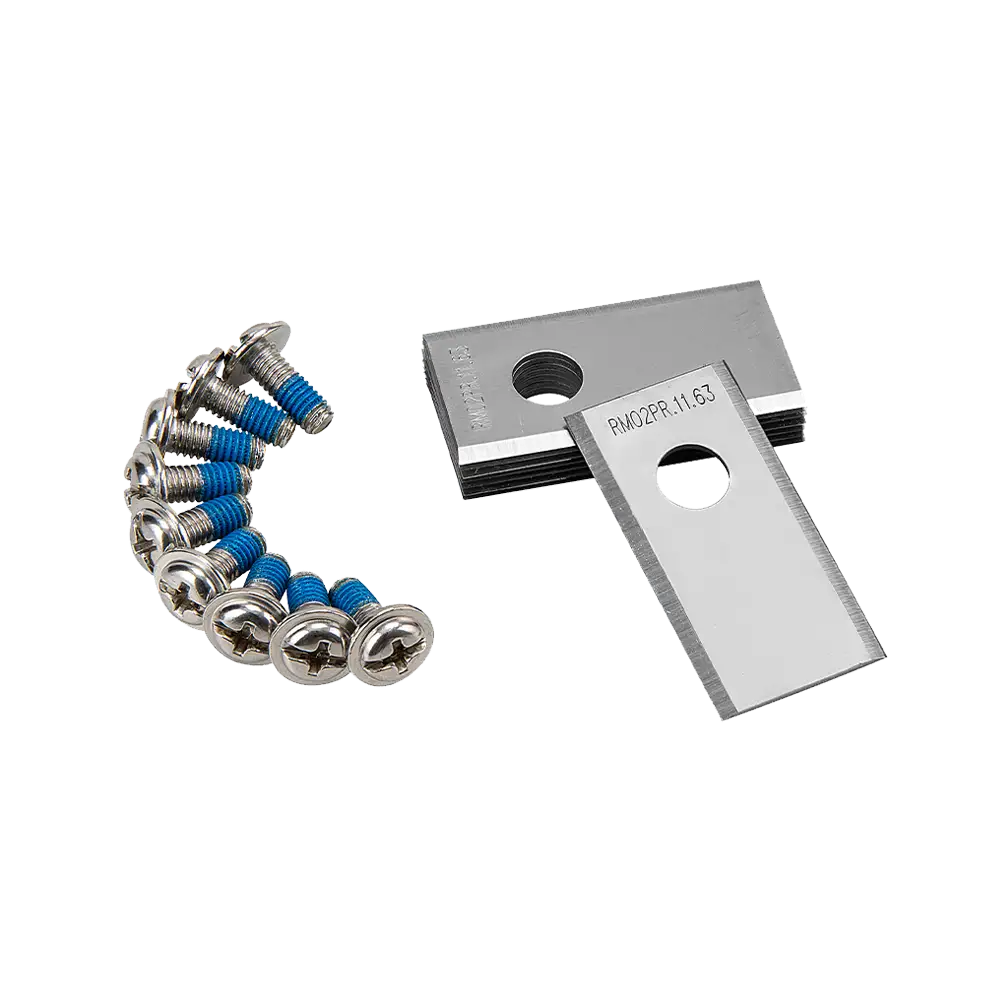
Maintenance: Always switch the mower off, remove the Isolator Key and Battery Pack, and allow the mower to cool before carrying out any cleaning or maintenance. Always use genuine LawnMaster® replacement parts and wear protective gloves when replacing blades. Regularly remove grass clippings, leaves and debris, keep the camera, ultrasonic sensors and charging contacts clean, and inspect the blades for wear or damage. To maintain a balanced cutting system, always replace all three blades and screws together. Clean the mower using a soft brush or dry cloth only. Do not use running water, solvents or a high-pressure washer. Store the mower indoors in a clean, dry location, and keep the battery in a cool, dry place away from direct sunlight. For long-term storage, maintain the battery at approximately 30–50% charge and fully recharge it every six months.
Software Updates: The mower software can be updated using a USB flash drive whenever a new firmware version is available. Download the latest software from the LawnMaster Support website and follow the instructions in the User Manual to complete the update safely.
How to Operate LawnMaster OcuMow® AMB16-400 Autocharging Vision Robot Mowers:
For the best performance and latest features, keep your OcuMow® DM16-250 Advance robot mower firmware up to date.
We don’t have any firmware updates available right now. Please check back later.
Genuine LawnMaster accessories and spare parts for your machine.
Regular price 903.00 kr
Regular price 282.00 kr

Regular price 451.00 kr
Regular price 542.00 kr
We stock a wide range of spare parts if you'd like to repair your machine, rather than replace it. If you can't find the part you are looking for in the accessories section above, please get in touch with us. For safety, certain parts may not be available individually, but as part of a combined unit.
FAQ
The mower may become stuck if grass is wrapped around the wheels or blade disc, it encounters an obstacle, becomes trapped in a hollow, the lift sensor is activated, or it is unable to pass behind obstacles.
Solution
1)Check the wheels and remove any grass.
2)Check the blade disc and remove any grass or objects (always wear
protective gardening gloves).
3)Free the mower and remove any obstacles.
4)Fill hollows with topsoil and over-seed with grass seed.
5)Prevent standing water from collecting in the mowing area.
6)Remove multiple obstacles where possible.
The mower may not start if the Isolator Key or Battery Pack is not installed correctly, the Battery Pack is not charged, the mower is overloaded, the Battery Pack is faulty, or the START/ON button is faulty.
Solution
1)Install the Isolator Key correctly.
2)Ensure the Battery Pack is correctly installed.
3)Fully charge the Battery Pack.
4)Remove the Isolator Key and Battery Pack, then remove any debris from the mower (always wear protective gardening gloves).
5)Set a higher cutting height.
6)Replace the Battery Pack.
7)Contact the After Sales Helpline.
Automatic Parallel Mowing may leave some areas uncut if the lawn has a complex shape or permanent obstacles interrupt the parallel mowing pattern.
Solution
1)Use Partial/Manual Parallel Mowing Mode to cut the remaining areas.
2)Adjust the lawn borders to create a more geometric mowing area with fewer corners.
3)Remove permanent obstacles such as pots and garden furniture where possible.
4)Use Partial/Manual Parallel Mowing Mode after the first cut is complete.
Poor mowing performance may occur if the blades are dull, grass is wrapped around the blade disc, the grass is too high, the cutting height is set too low, or the lawn is too large.
Solution
1)Replace all three blades and screws.
2)Remove any grass from the blade disc (always wear protective gardening gloves).
3)Increase the cutting height.
4)Set the cutting height higher.
5)Recharge the Battery Pack and continue mowing.
Charging problems may occur if the battery contacts are contaminated, the socket outlet, fuse, mains cable or battery charger is defective, the Battery Pack is faulty, the battery charger plug is not fully inserted into the socket outlet, or the plug fuse has blown.
Solution
1)Clean the battery contacts by inserting and removing the Battery Pack several times.
2)Check the mains voltage and fuse.
3)Replace the Battery Pack.
4)Fully insert the battery charger plug into the socket outlet.
5)Check and replace the plug fuse.
6)Contact the After Sales Helpline if the problem remains.
A warning indicator may appear if the lift sensor is activated, the mower encounters an obstacle, becomes trapped in a hollow, is unable to find grass, is tilted, detects a camera communication issue, the battery temperature is abnormal, or an electric core, sensor or PCB fault has occurred.
Solution
1)Free the mower and remove any obstacles.
2)Fill hollows with topsoil and over-seed with grass seed.
3)Move the mower back onto the grass.
4)Move the mower onto a flatter area.
5)Operate the mower during daylight hours only.
6)Remove and re-insert the Isolator Key, then restart the mower.
7)Allow the machine to cool to its normal operating temperature, then restart the mower.
8)Contact the After Sales Helpline if the problem remains.
Support
We’re here to empower you with the knowledge and solutions to make the most of your machine, and to support you when you just need a helping hand. Our friendly, customer service team are here to help.
This LawnMaster appliance, spare parts and accessories carry a 2-year guarantee.
2-7 Day Standard Delivery:
Standard delivery lead times are between 2-7 days for mainland European countries.
Delivery cost is calculated at the time of purchase and will be displayed at checkout.
Delivery is free.
Non EU member countries could be subject to import duties. Please check this with your customs authority for details.
Returns:
We hope that you are happy with your purchase but if that's not the case, unused, undamaged products can be returned for a refund within 30 days of receipt.
Our aim is to keep it personal. Our friendly customer service team are there if you need a helping hand.
Sign up , plus access to exclusive benefits including: